
This is Ed tagging back in to discuss force structure and playtesting the scenario.
Now that we’ve gotten a draft map to use, it will be much easier to work out some of the rough edges on the way to the final product. Yes, of course there will be rough edges. I wish these things would spring out of my head, perfect and fully formed, but I haven’t quite managed that yet.
The starting point for these scenarios is almost always two full strength platoons of the appropiate types per side. This allows four players to have a full gaming experience and is really the limit you can (or should) do on something resembling a 4’ x 6’ board. I tried to stretch that to six players for our Corinth Canal game using platoons with either 2 full-strength squads or 3 understrength squads per player, but in the first case players didn’t have enough to do with their Command dice, and in the second, Moral deteriorated too quickly. So I’m back to four players as the base.
On the smaller end, you can do a single reinforced platoon per side for four players and that does work well for introducing players to the game, but I’m not sure it always gives experienced players enough to do. The tension between giving players enough to do vs. too much to do is always present at this stage of scenario design. So in this case, we have two early war Australian platoons and two early war Japanese platoons as our base forces. From the historical accounts, the Australians had a Universal Carrier, two armoured cars and medium mortar support. The Japanese had a makeshift roadblock, some amount of entrenchments and a medium machinegun. Since I have records of these things I really want them to be represented in the game. But beyond that, the challenge is to supplement the forces with support that might plausibly have been there to create an enjoyable game where both sides have a reasonable chance to win.
So I have lots of questions at this point:
1 – How much anti-tank capability do the Japanese need so that the Autralian vehicles don’t dominate the game completely? Since the Japanese infiltrated into this position, I think both an AT Rilfe and Tank Hunter teams might be appropriate, but getting this balance right will be tricky.
2 – How big should the Medium Mortar bombardment be? I’m going in thinking 12” x 12” is the right answer, but I can crank that up if the Australians need a boost.
3 – How many entranchments should the Japanese on the road get and should their platoon be full strength? The Japanese hadn’t been in position all that long but had beaten back an Australian attack earlier in the afternoon meaning them might be weak.
4 – What support should the 2nd Australian platoon and the reinforcing, 2nd Japanese platoon have? Initially, I break up the Australian support so the platoon on the road has the armoured cars and medium mortars and the 2nd platoon has a Universal Carrier and an Medium Machinegun. The 2nd Japanese platoon will start with a sniper and a Tank Hunter team.
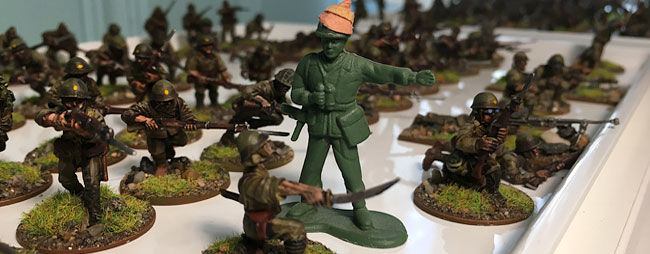
5 – What model Armoured Cars are these anyway? I’ve been researching this heavily and given the confusion reigning at the time, there’s really no way to be sure, so I’m going with one Lanchester and one Marmon Herrington Mk III. The Armoured Cars seem to be from the 2nd Loyal Battalion, but there’s no record of their type. There were a whole bunch of Lancasters in Malaya, however, there’s a picture of an overturned Marmon Herrington further up the road from the same day as our encounter, so I think the mix is both plausible and a good excuse to play with both of them.
6 – Do I need to give the Japanese some Chain of Command points (or a full die) to possibily moderate the Mortar barrage effects?
7 – What Force Morale does each platoon need to have to generate the best game? I don’t randomize this for convention games to help balance them.
8 – Where do I place Jump-Off Points for each platoon to make sure players get stuck in quickly? This is another facet of the game that I predetermine in convention games to make sure the game doesn’t get derailed before it starts. I may revise my view of this over time, but this seems to be working so far.
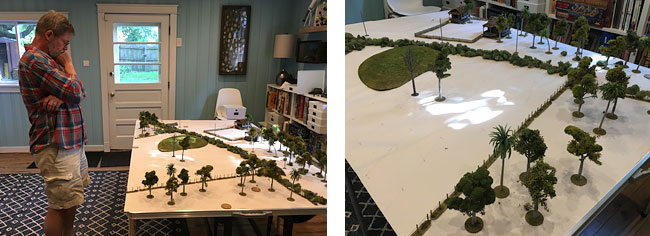
Yep, that’s a lot of levers to effect how the game plays and I think you could change the answers to any or all of them without going to far astray from what historically occurred. The challenge now is answering as many of them as we can in the short-term to get a reasonable game, then fine tuning from there. This is where the game mockup really helps! I can solo test some aspects quickly and can test the game more fully with friends, incorporating changes as we go. However, the trickiest thing to test is how the players will approach the problem, especially as this scenario does not neatly break down into two separate fights the way our last eastern front game did.
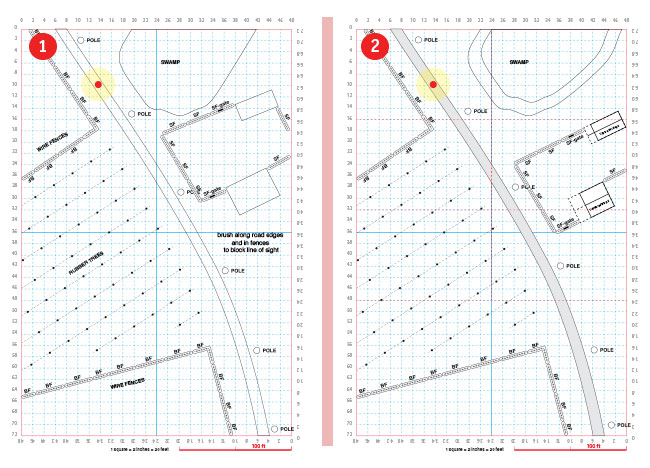
My friend Pete came over a couple of weekends ago for our first two-player playtest of the game. We played the half of the fight that occurs along the road with the first Australian and Japanese player forces and it has already caused some changes, including one to the map itself. It looks like pushing the buildings along the road towards the Australians a bit may improve the game by giving the Japanese more scope for deployment and placing them nearer the crest of the hill that we are building, so we are incorporating that change into the sketch map.
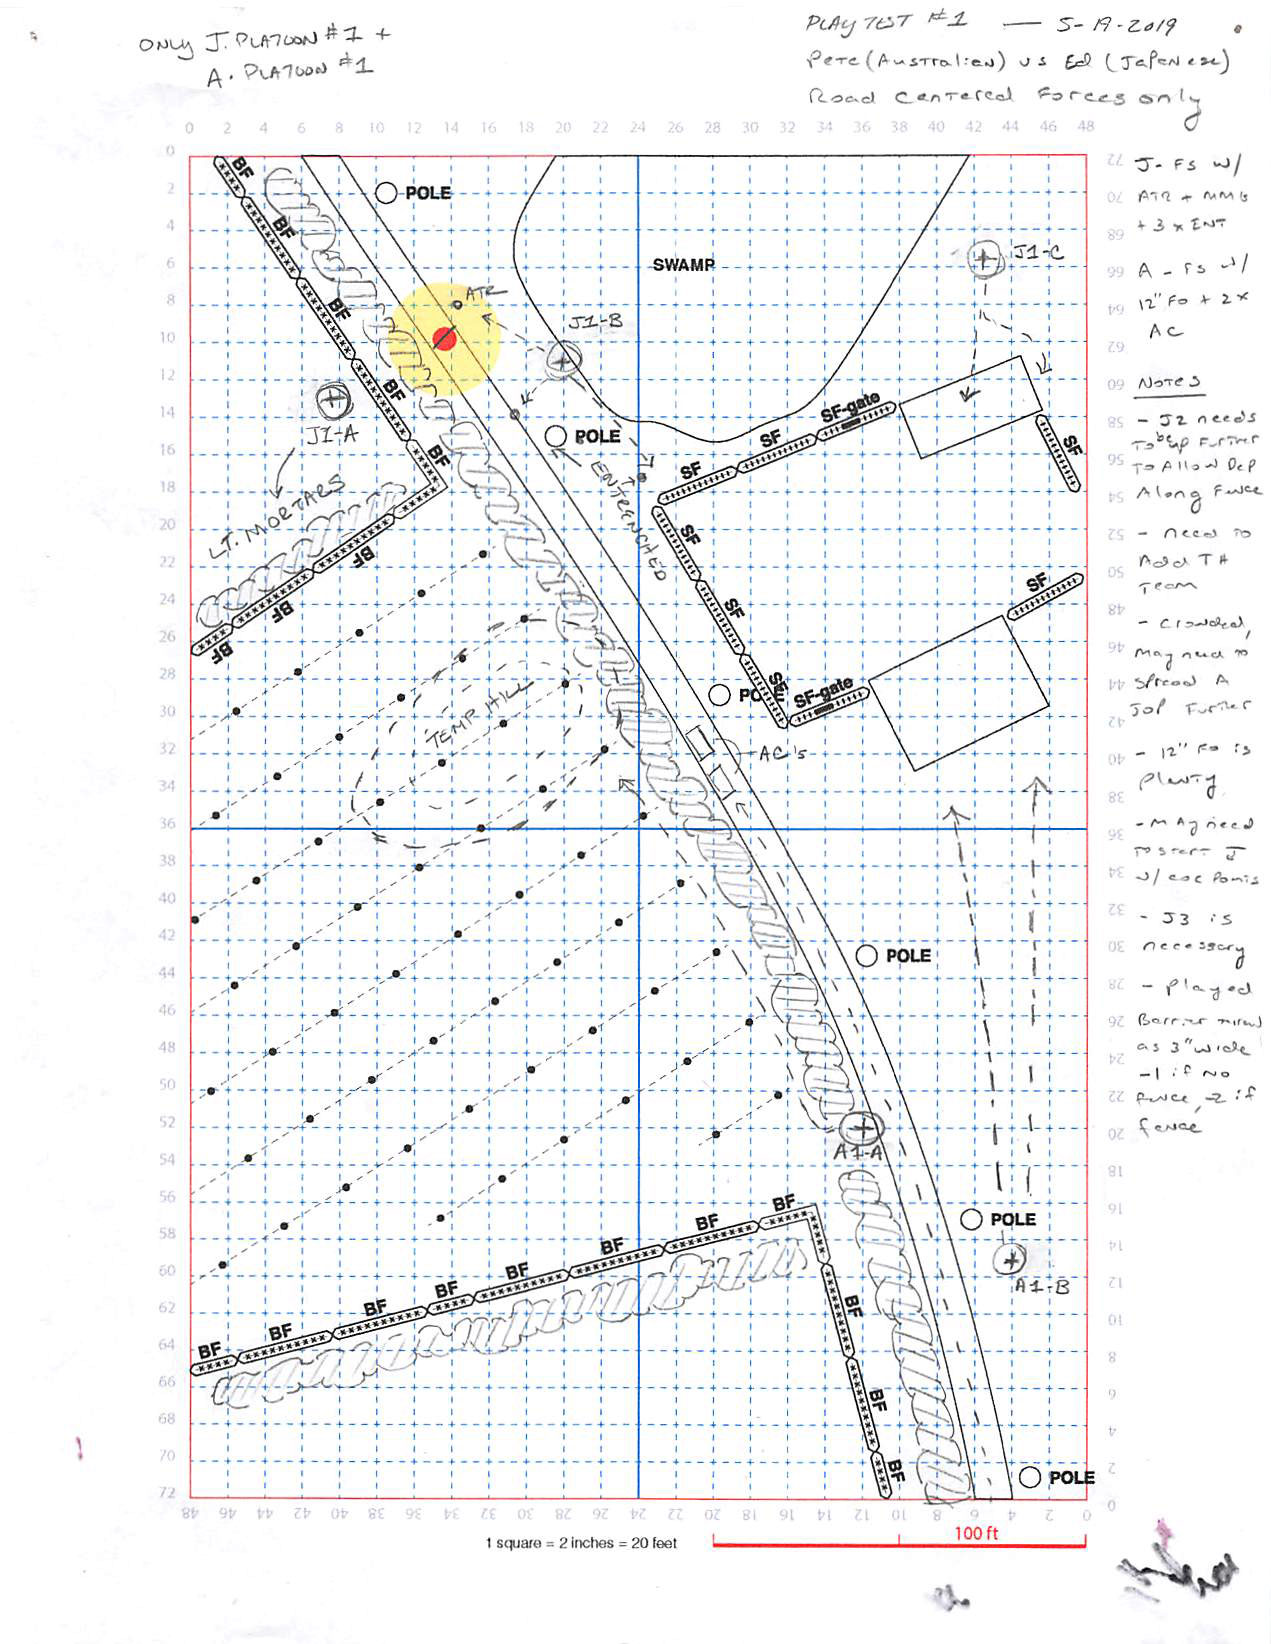
The forces for this playtest were:
1st Player Australians
- 2 x SL (1 with Pistol & 1 with SMG)
- 1 x 2-man 2” Mortar & 1 x 2-man ATR
- 3 x 10 man Squad (JL w/SMG 3-man Bren team6-man Rifle Team)
- Forward Observer
- 1 x Lanchester AC
- 1 x Marmon Herrington Mk III AC
1st Player Japanese
- 2 x SL (1 with Sword & 1 with Rifle)
- 3 x 13 man Squad (JL w/Rifle, 4-man LMG team, 8-man Rifle Team)
- 1 x 13 man Mortar Squad (JL w/Rifle, three 4-man Lt Mortar teams)
- 1 x 5-man MMG team
- 1 x 5-man ATR team
- 3 Team Entrenchments
As far as changes to the force structure go, the first change I’m making is to drop the Boyes AT Rifles from the Australian platoons since there is no armor on the Japanese side.
The other questions are still in flux, but here’s the state of what I know right now:
1 – The Japanese along the road will get both an AT Rifle and a tank hunter team. If the Australian Armored Cars work together it can be tough.
2 – 12” x 12” looks like it will be plenty for the Australian barrage.
3 – We played with full strength Japanese and 3 team-entrenchments, but I’m not sure there’s enough info to adjust that yet.
4 – The 2nd player Australian platoon and 2nd player Japanese platoon haven’t been tested yet.
5 – The mix of Armored Cars worked just fine and I think I’m locking that in.
6 – I’m leaning towards giving the Japanese half a die (3 Chain of Command points) to start the game. During the playtest, we rolled a Random Event for the Japanese which got them a Chain of Command die. That helped keep the Mortar barrage somewhat in check, but making sure the barrage doesn’t dominate the game may be one of the design challenges here.
7 – The initial test had Force Morale 9 for the Japanese and 10 for the Australians. I like 9 for Defenders because makes them less fragile and 10 for Attackers because they will have to take more losses coming in. For this scenario, this needs more testing.
8 – Several adjustments to the Jump Off-Point positioning are in process. That will get tested next time and we’ll see what other changes need to happen.
So, of course, we need lots more playtesting, but right now the focus for the forces along the road is making sure the Armored Cars and Mortar Bombardment help the Australians but don’t take over the game.
Follow with interest
cheers John
Thanks John!
Your blog is a goldmine of good ideas and eye candy which I refer to regularly, so hopefully we can return the favor. Every time our blog goes active for a while I appreciate other folks doing it even more. Now if we can just get everything finished in time…
Ed