
In the past I built many full-sized boards from plans drawn on a piece of graph paper.
I draw pretty tight plans and we’re both good at interpreting ground from maps BUT, producing terrain this way forces you to accept some limitations.
First, if you have pieces that will be laid on top of the board’s ground those pieces should be produced first so that you can be sure of areas you want to mark out for them in the paint/flock. OR your ground has to be colored in a way that the piece being laid down could go anywhere.
For example: No 1 is a mat with a printed pattern. Because it has no defined areas, a terrain piece can sit anywhere. Which means, moving the terrain piece an inch or two off the plan to help control a line of sight, or if (oh god no!) you’ve mismeasured slightly, you’re fine. The mat gives you a great deal of flexibility and reusability but you’ve sacrificed some of the illusion of a real place where folks wear paths into the ground and beat down the vegetation around where they live.
For everyday play I love mat 1. It’s durable and flexible. For a convention game where we want a bit more flair, and the scenario is designed for specific ground and terrain I don’t love it.
Second limitation is road sections. No matter how carefully you measure it is almost impossible to get pre-made road sections exactly right on the graph paper OR to produce them exactly as they are on the plan. That means if there’s anything close to the road sections when they shift positions, like walls or buildings, those terrain pieces might shift from their intended positions too. This could open a line of sight where we didn’t want it, or close one. Or we could end up with road bits hanging off the board. You know what I mean; we’ve all seen and done it. And that reason right there is why I don’t make road sections…ever. For everyday games we still use felt. For fancy games I build roads and paths into the ground. And making the roads part of the ground mat is faster and cheaper. I’ll talk more about this in later posts when we start building terrain. For now lets just talk about the plan to build.
The third issue with building from a layout on graph paper is playtesting. We’re building a comprehensive scenario not just a table of terrain so we want to get to playtesting as fast as possible. When we were building the Corinth board we didn’t get playtests in until the board was almost complete and we realized that adding a hill between opposing jump off points would radically change player behavior for the better so at the last minute I had to fabricate a new hill. After that I realized we needed to improve the design process.
And that is why we now create a full-size mockup. We did this for the first time during the Russian build and it was a HUGE improvement.
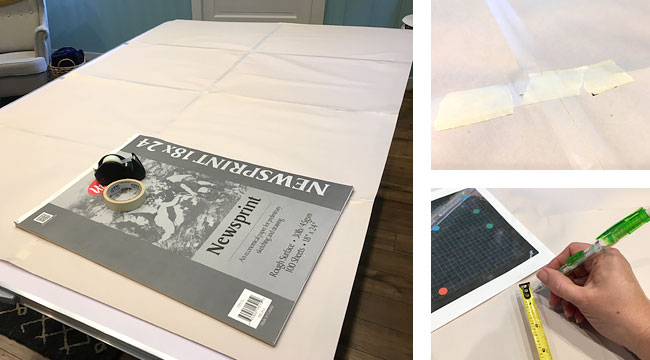
For a 4 foot by 6 foot table, you need: your layout on a grid or graph paper sized for you board, 8 sheets of 18” x 24” newsprint, masking tape and transparent tape.
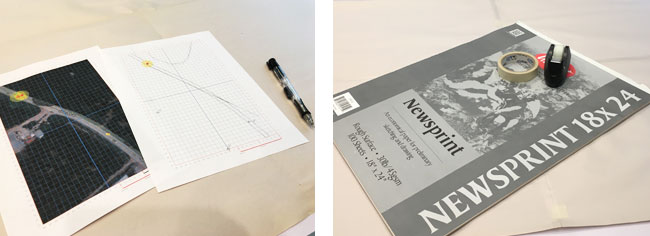
What you do is, butt the sheets of newsprint together and tack them together at the corners with bits of masking tape. I use masking tape here because it is less tacky and easy to move if you don’t line it up right the first time. When I’m satisfied with that, I tape the seams with the transparent tape. This tape is thinner and stickier so works better here. Flip the whole thing over and start transcribing your plan on to the 4′ x 6′ sheet you just made. Use a pencil cause this is gonna change.
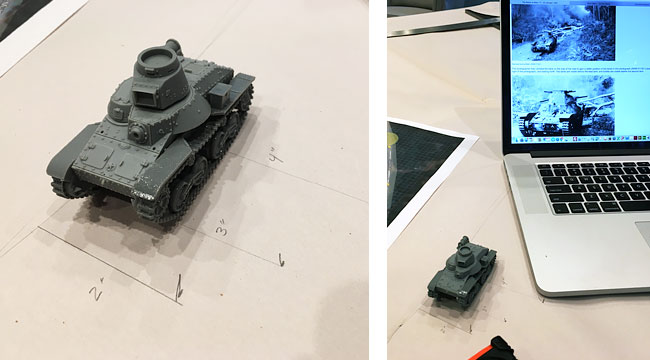
You now have a full-scale pattern to plan the final layout and playtest on. This is a great time to choose a road width. Modern roads are much wider than you would have found in WW 2. They’re straighter too. In our case we have good reference photos from a roadblock hours before the one we’re simulating. After that action a photographer shot pictures of destroyed Japanese Ha-Go tanks on the road. Ed has a Ha-Go so we put the figure on the mockup and choose a width. We go with 2 inches.
As the road is the most important element in this scenario we are now ready to start playing with the layout of other terrain features. And I start thinking about what bits I will need to produce and how. Ed starts thinking about playtesting. We layout the bits and pieces we have and start talking through the scenario. When we’re done we end up with a map that looks like this.
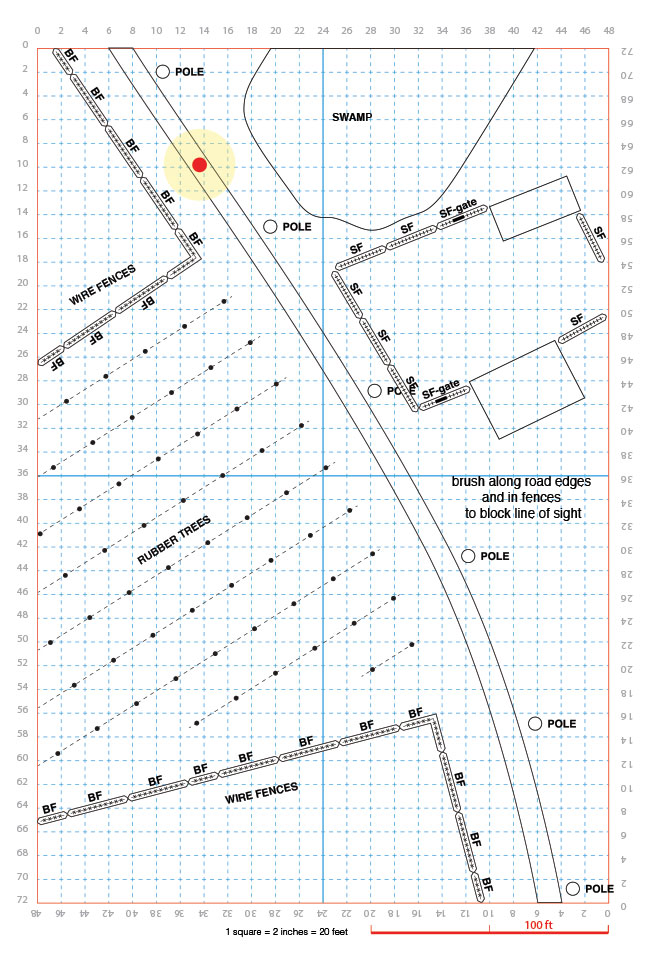
We choose to use barbwire fence sections I recently made to define the sides of the rubber grove. I see poles in the backgrounds of some of the period photos which mean wire fences to me but more importantly, fences are where stuff grows up to block line of sight and we need this for forces to be able to maneuver. Plus, we’ve noticed over the years that when players have unblocked lines of sight to each other right away, the fight bogs down and ends where it began. So, not much fun.
The photos also show us bushes at the edges of groves next to the road without fences so we will probably use piles of lichen that figures can move through easily but not see through as well. Ed mentions a new Lardy terrain description, “Barrier Terrain” I think, and we think that will apply here.
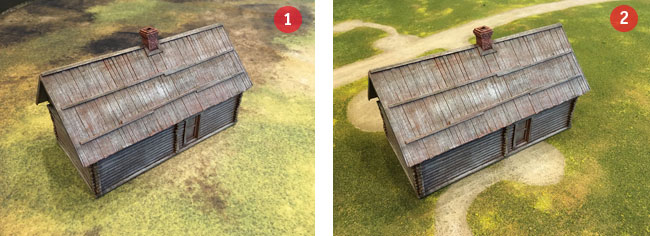
There will be telephone poles along the road and a couple buildings that I have already built (Halleluiah!).
58 RUBBER TREES! It’s things like that that can make you question your marriage.
I still have hills and vertical terrain to figure out. That grove is really open and would benefit from some ground curve. And I’m not sure how I want to build the swamp area. Lots of decisions to make still but meanwhile Ed can playtest.
Oh, did you notice that even though I’m working on the full-scale sheet of newsprint that the graph paper layout got updated? Now while that was handy to have to show you, I did that for me. Keep your layout updated even after going big on the mock up. It’s portable, really helpful for note taking and serves as a back-up but it’s also really helpful later…you’ll see.